
Filters
17 products
See It in Action
Real unboxings and product videos from our customers and the LightingWill team. See what’s in the box and get a closer look before you buy.
Shipping & Delivery
LED Channels Designed for Every Installation
Cleaner, More Professional LED Installations
Softer, More Even Light
U-Shape & Corner-Mount Options
Fits Different LED Strip Widths
Protects & Supports LED Strips
Complete Installation Accessories
Questions, projects & expert answers
Explore real customer questions, application ideas and answers from our team.
What should you check before choosing an LED aluminum channel?
Width, shape and diffuser are the three key things
Answered by LightingWill
The diffuser was a little fiddly at first, but the finished light looks really clean
A small installation trick that made it much easier
Used these channels in our under-stairs bathroom renovation
The 1m sections ended up being easier to work with
Philips Hue strips do fit — but I had to remove the rubber sleeve
What I found after checking the measurements myself
My RGB+CCT strip is too wide for most channels — should I use U03?
Finding a profile for a wider LED strip
U03 vs U04 for a 20mm LED strip — which profile is less bulky?
Two options for wider strips
No discussions in this category yet.
What should you check before choosing an LED aluminum channel?
We often get questions about which LED aluminum channel to choose, especially when several profiles look very similar at first glance.Before ordering, there are three things worth checking: the width of your LED strip, where the channel will be mounted, and how much diffusion you want from the cover.Choosing the profile based only on the outside dimensions can easily lead to the wrong fit.
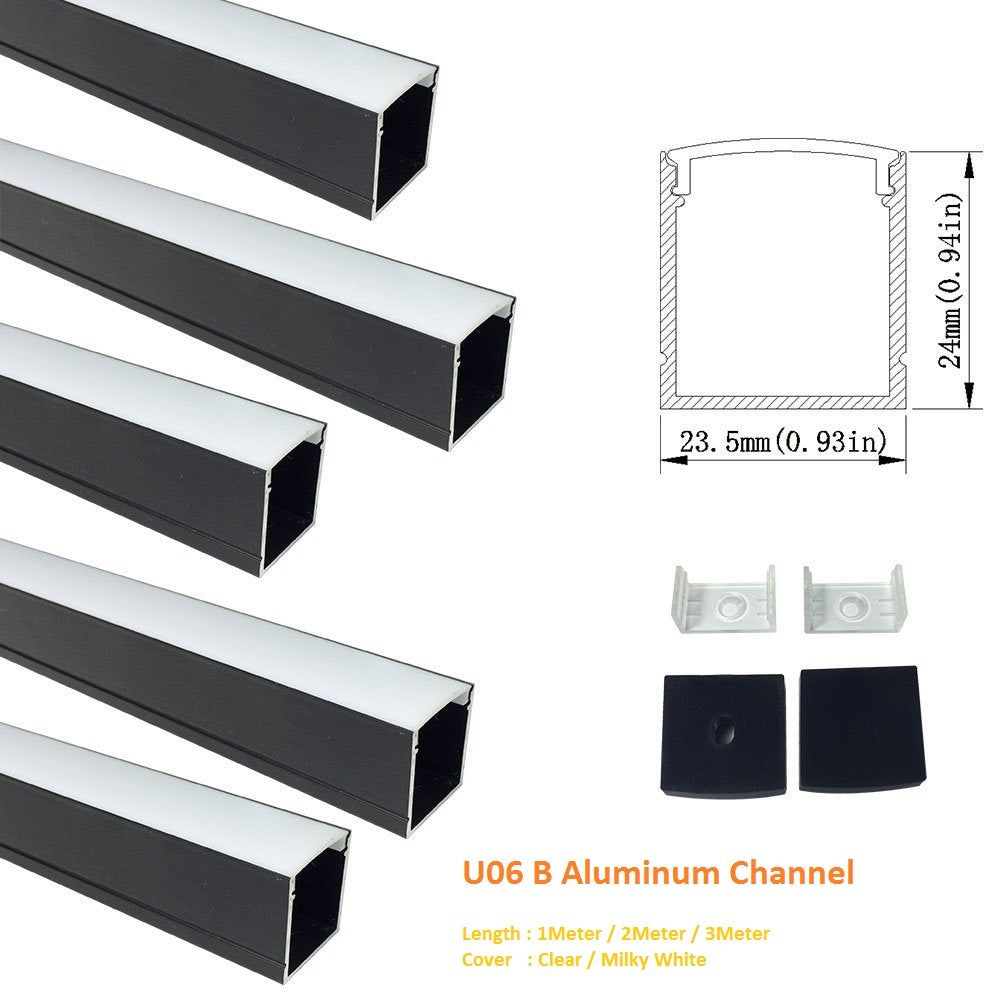
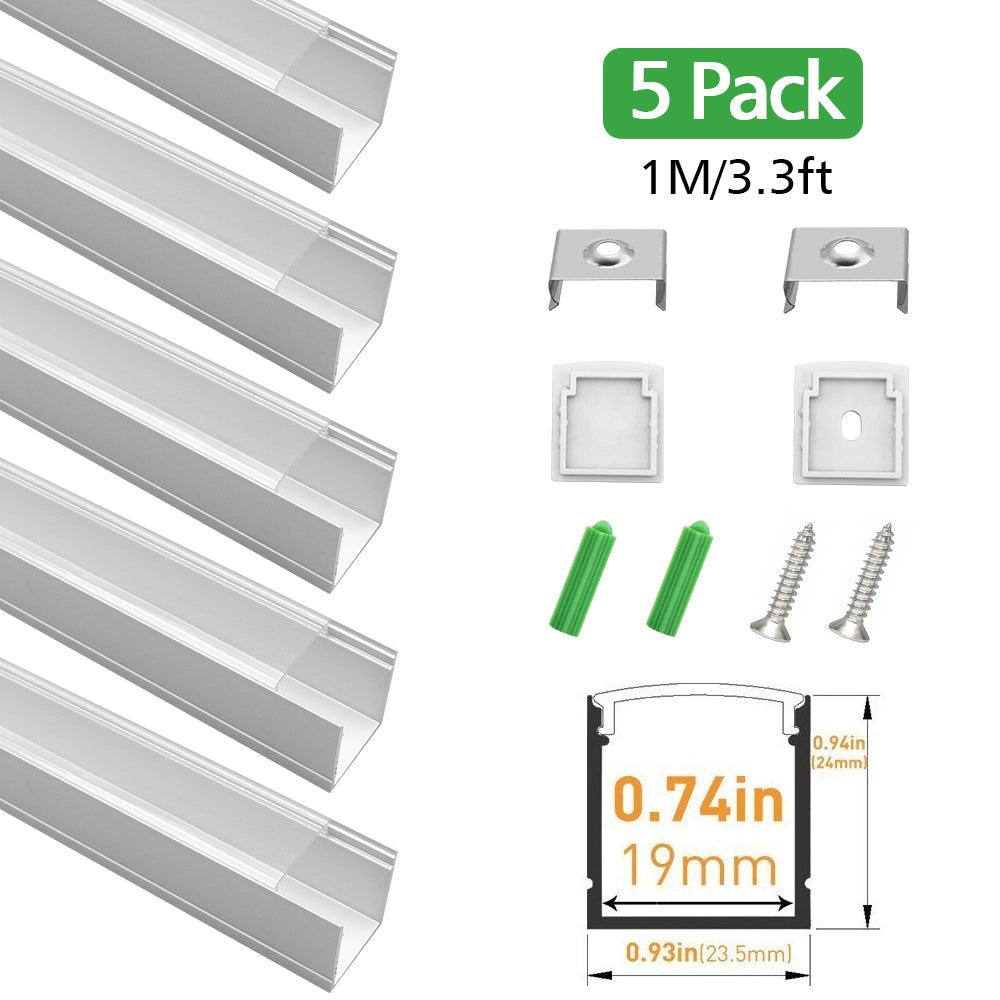
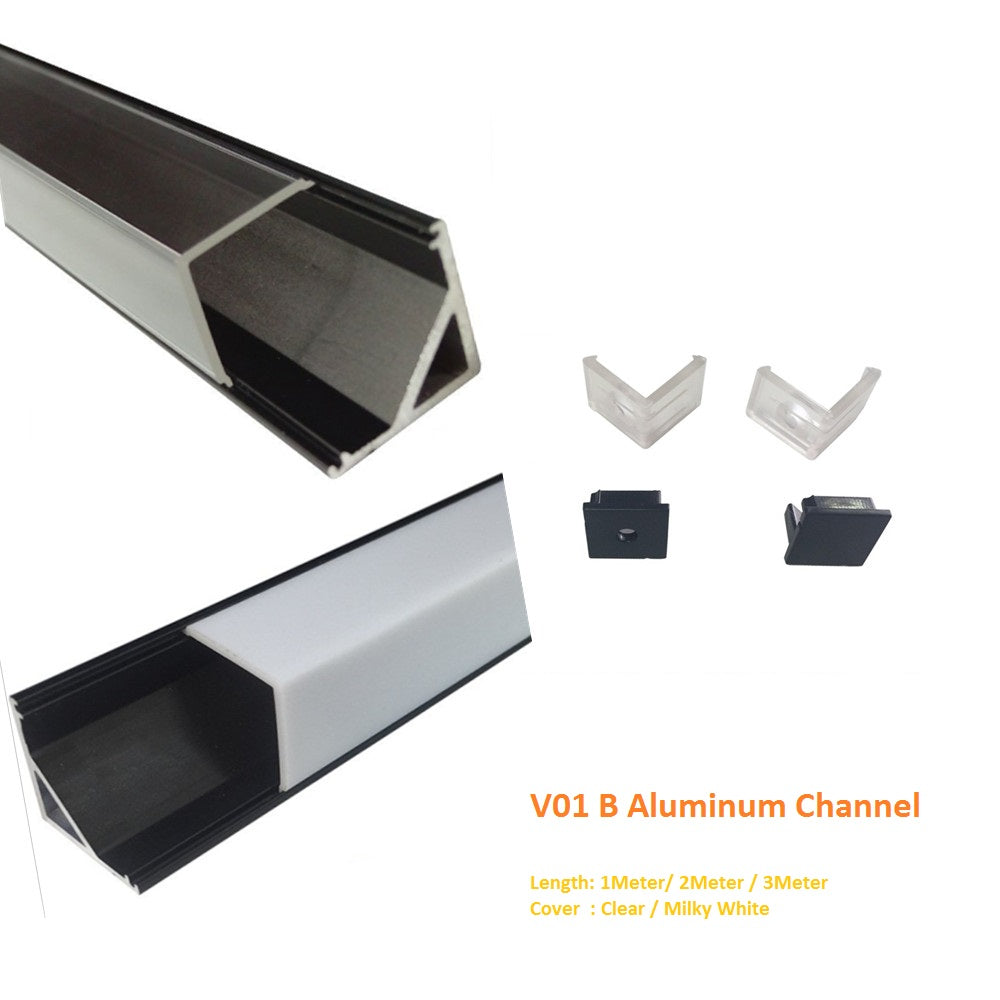
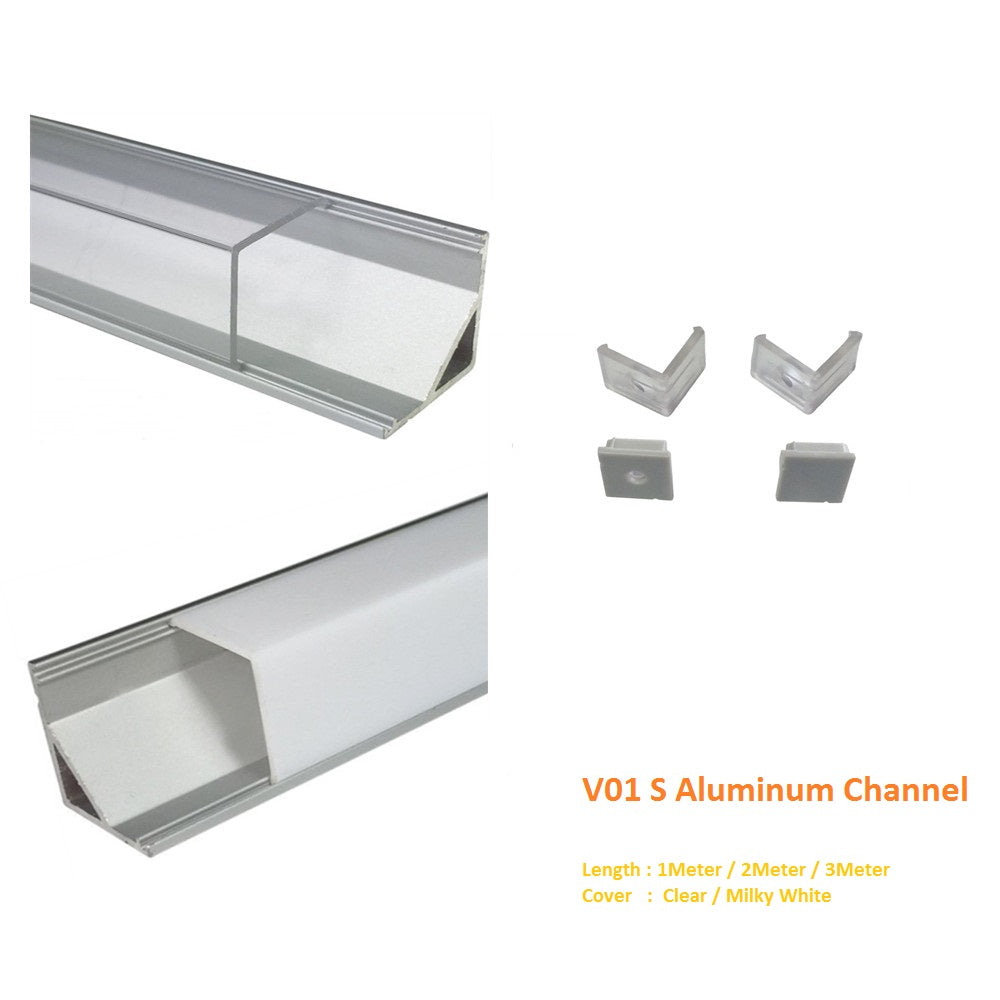
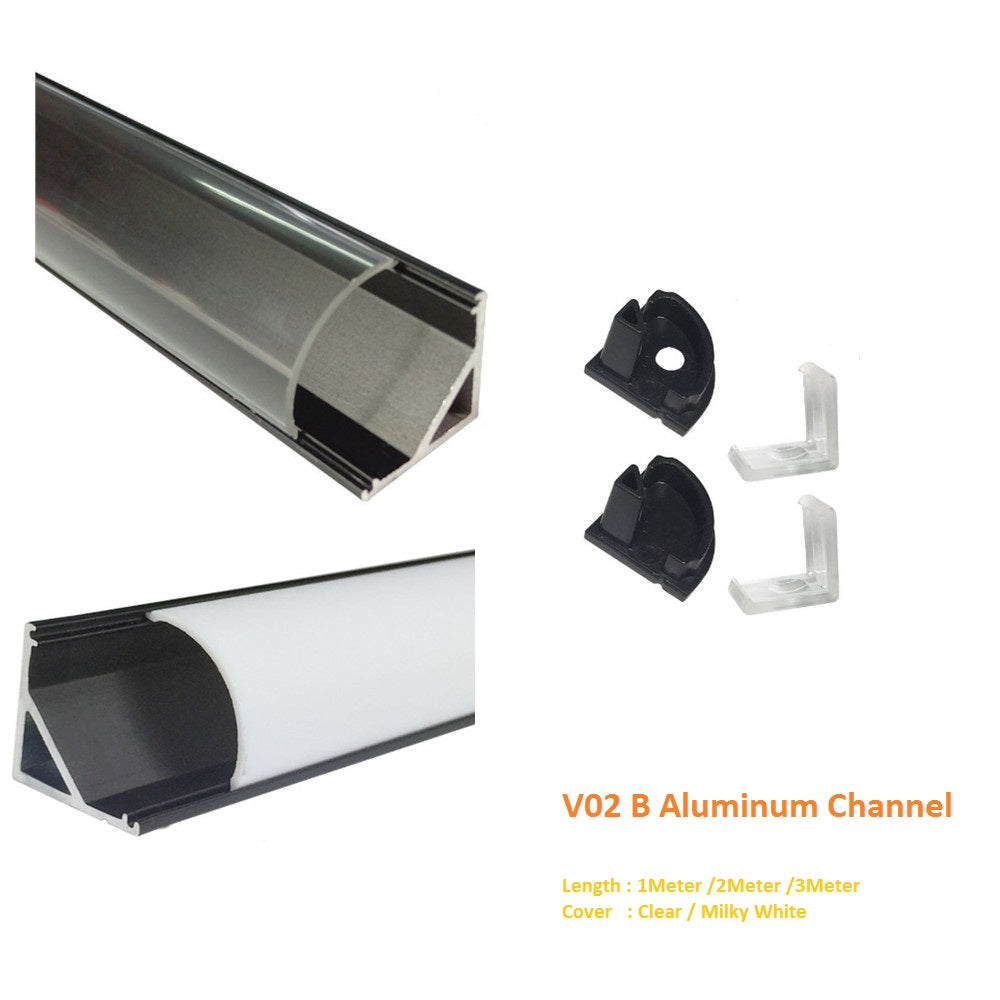
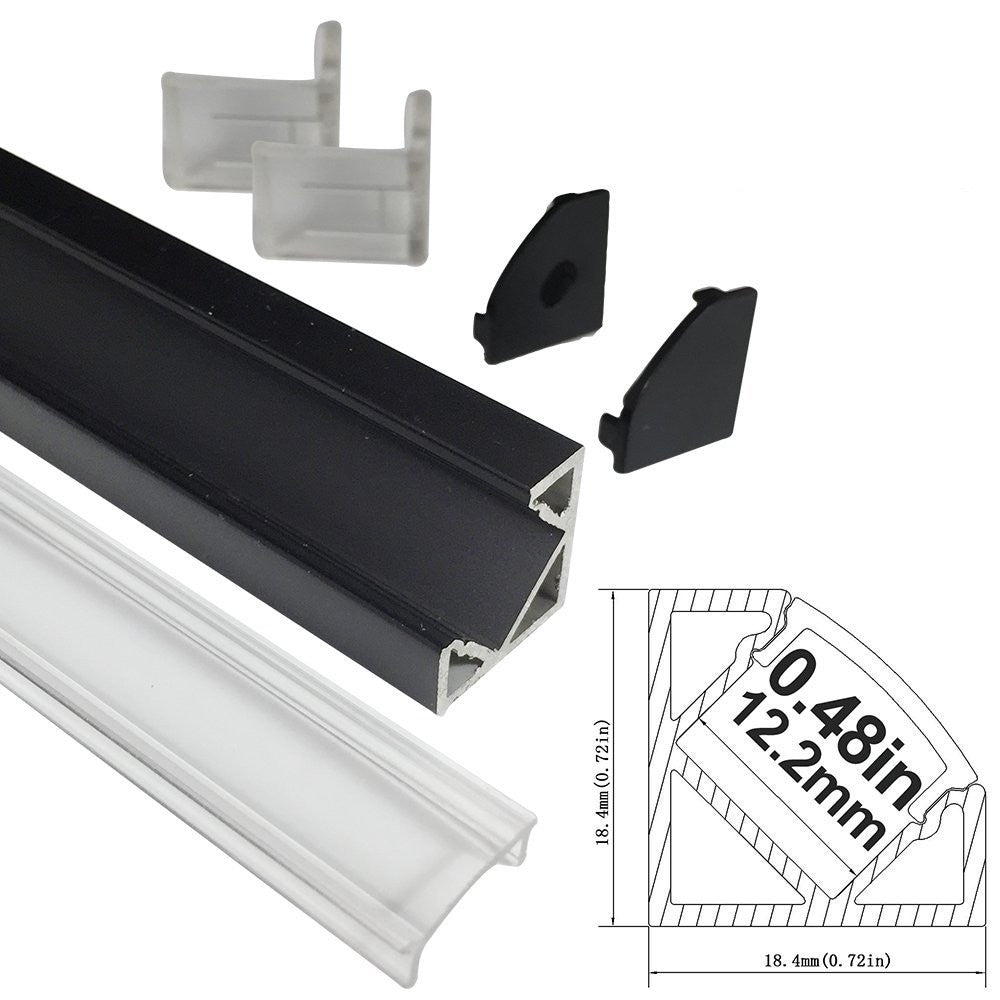
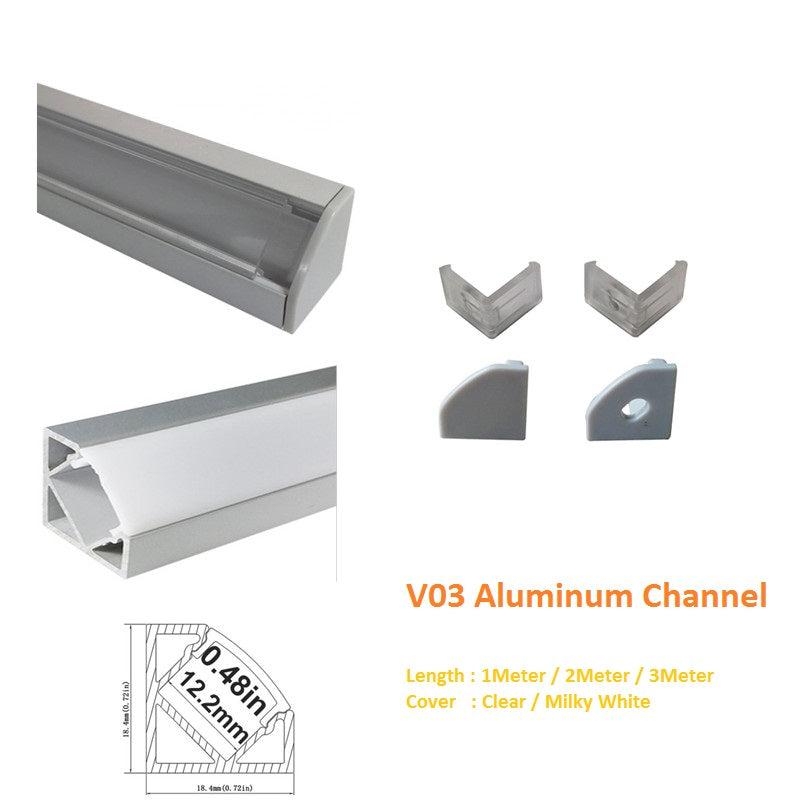
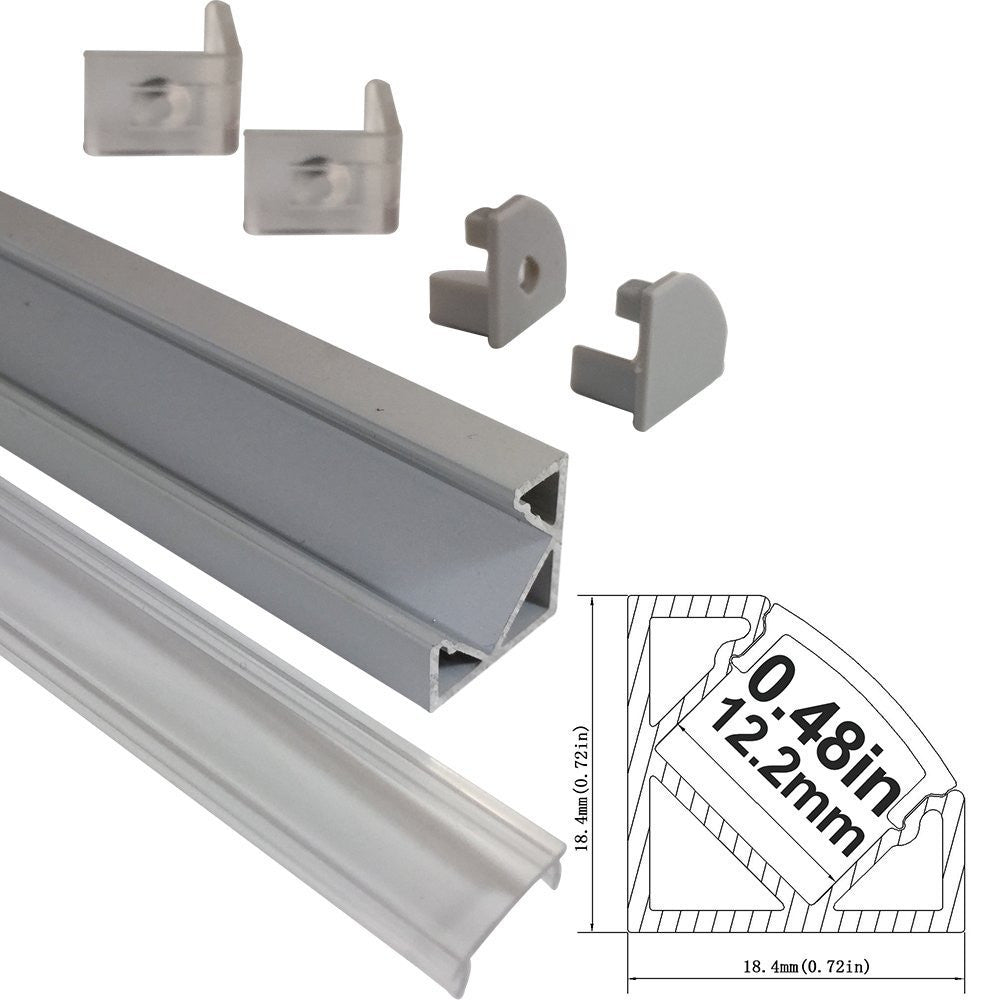
The first thing to check is the internal width of the channel.A standard LED strip may fit a 12mm internal-width profile, while wider RGBW or RGB+CCT strips may need one of the 20mm profiles.Next, consider the mounting position:U-shaped profiles are generally used for flat surfaces such as cabinets, shelves, walls and furniture.V-shaped profiles are designed for corners and are useful when you want the light aimed outward rather than straight down.Finally, choose the diffuser based on the finished look you want. A milky white cover creates a softer appearance and helps reduce visible LED points, while a clear cover keeps the strip more visible.For installations where the light line is directly visible, profile depth and LED density also matter. A deeper channel combined with a high-density or COB strip will usually create a smoother result.
The diffuser was a little fiddly at first, but the finished light looks really clean
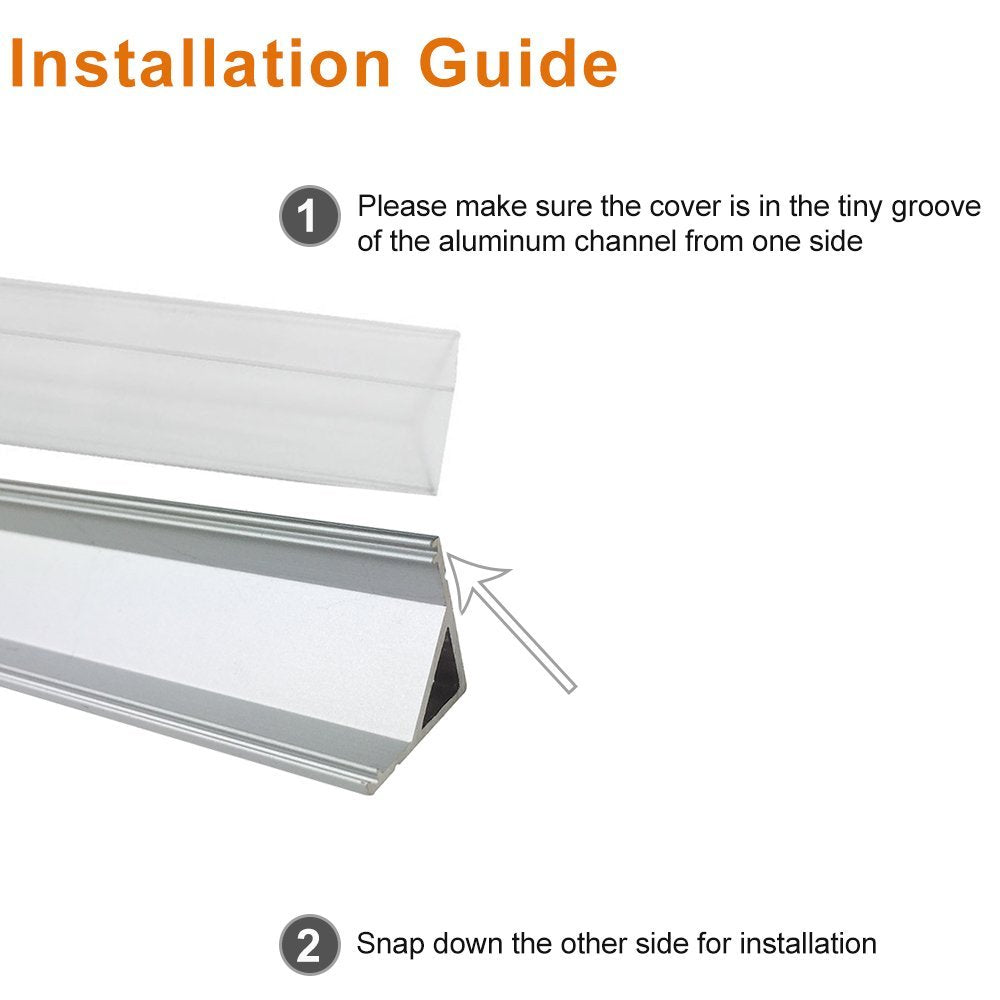
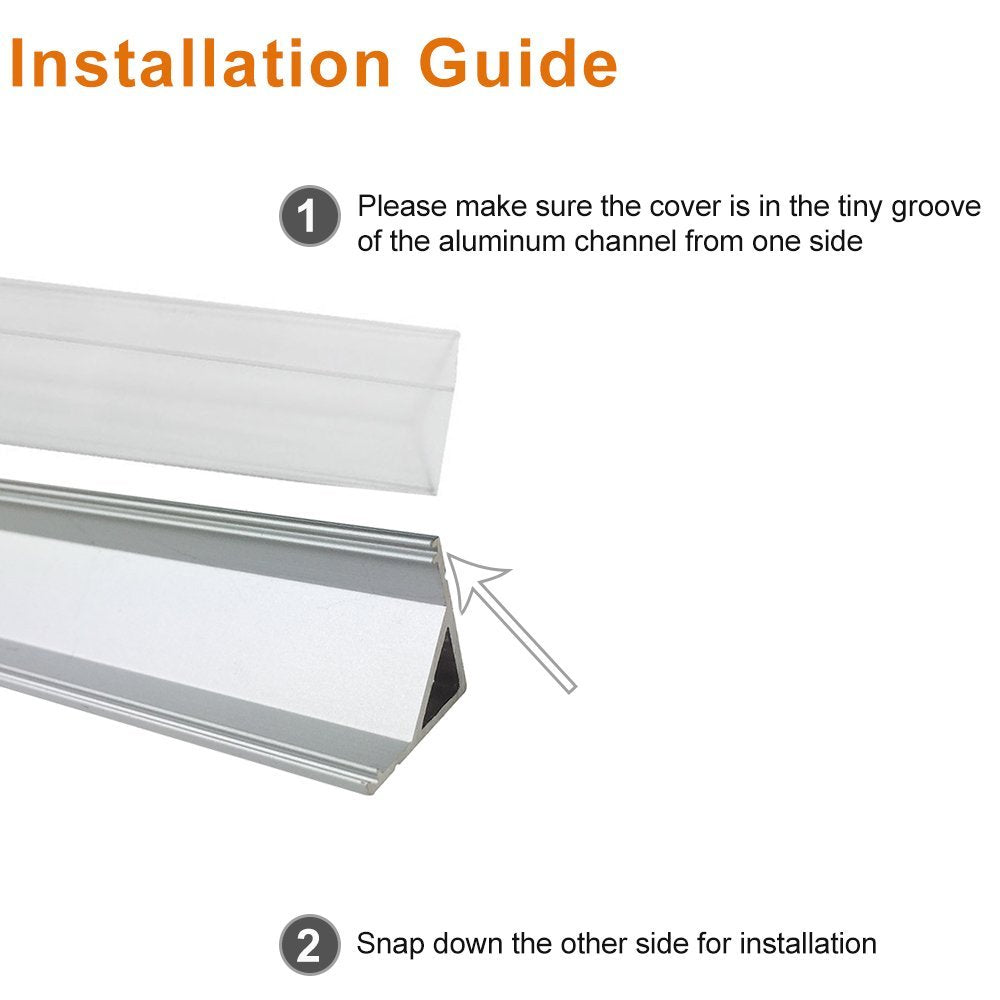
I used these aluminum channels for a small mirror lighting project and overall I’m really happy with them.The channel is slim, the metal feels solid, and the diffuser does a good job of softening the light. I was using a fairly cheap LED strip with LEDs spaced quite far apart, so I could still tell where the individual LEDs were, but the diffuser made them much less harsh.The only part that took me a minute was fitting the cover. At first I thought it wasn’t going to snap in properly.What worked for me was starting at one end, making sure the diffuser was sitting correctly in both grooves, then pressing it in gradually with my thumbs. Don’t squeeze the aluminum channel inward while doing it or you’ll make it harder for yourself.Once I figured that out, the rest was easy.I’ll probably use a higher-density or “spotless” strip next time because I think that would look even better.
Thanks for sharing the installation tip.Starting at one end and working along the channel gradually is a good approach when fitting the diffuser.The diffuser helps soften visible LED points, but the final result still depends on the LED spacing. A high-density or COB strip will generally create a smoother continuous light line than a strip with widely spaced LEDs.
Used these channels in our under-stairs bathroom renovation
I used these for LED lighting in a small downstairs bathroom under the stairs that we recently refurbished.Before ordering, I was slightly worried about using several shorter sections because I thought the joints might be obvious once the lights were on.They really aren’t.Once everything was installed, I stopped noticing the joints completely. In hindsight, the shorter pieces were actually easier to handle and arrived straight without any bending or damage.The fixing hardware was included, but because of the tile layout I decided to drill the channels directly to the wall and pack them out slightly so they finished flush with the tiles.I also liked that I could press the diffuser covers straight on instead of having to slide them in from the end. They’re a snug fit, but a gentle tap got them seated.Really pleased with how it turned out. It made what would otherwise be a pretty boring little room much more interesting.I’ll probably use the same channels again when we redo the kitchen.
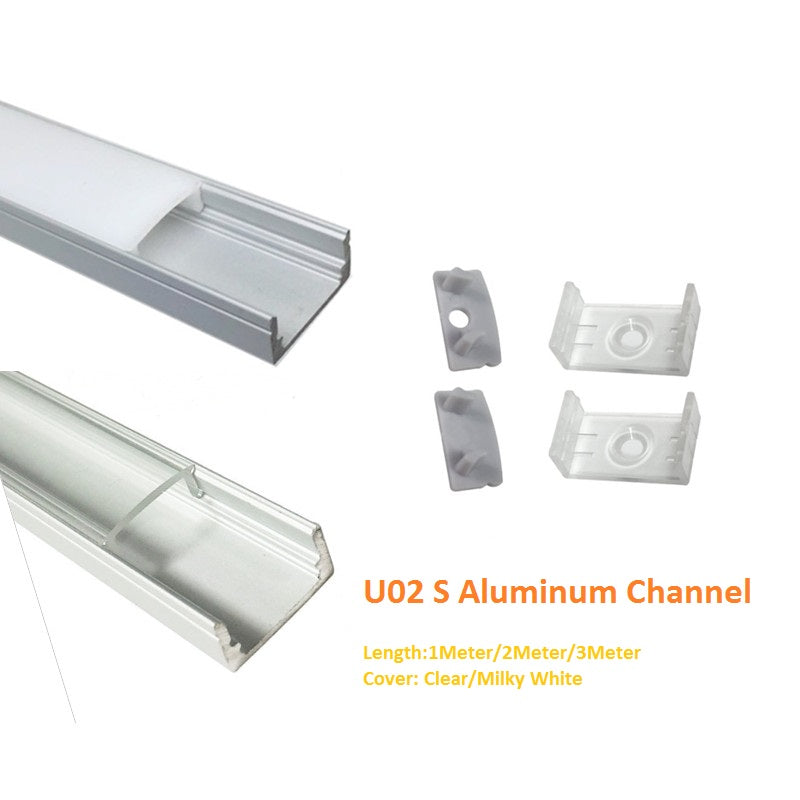
That’s a great use of the U02 profile.Shorter channel sections can be easier to position in smaller spaces, and when the profiles are aligned carefully, the joints become much less noticeable once the LEDs are on.For tiled installations, taking extra time to keep the channel level and flush with the finished surface can make a big difference to the final result.
Philips Hue strips do fit — but I had to remove the rubber sleeve
I almost didn’t buy these because I saw a few reviews saying Philips Hue strips wouldn’t fit.I checked the measurements myself and decided to try them anyway.They fit fine in my setup, but I did have to remove the rubber outer sleeve from the Hue strip first. Once that was off, the strip sat inside the aluminum profile without a problem.I also tested another 24V RGB+CCT strip that’s roughly the same width and that fitted too.Assembly was straightforward. The diffuser can be slid in from the end, but I found it easier to snap it in from the side with a little pressure.I’ve seen people say the covers are impossible to install, but that wasn’t my experience at all.My only small complaint was the protective film on the diffuser. On the ones I received, it didn’t seem to cover the full surface evenly.Other than that, these have been really good for the price.
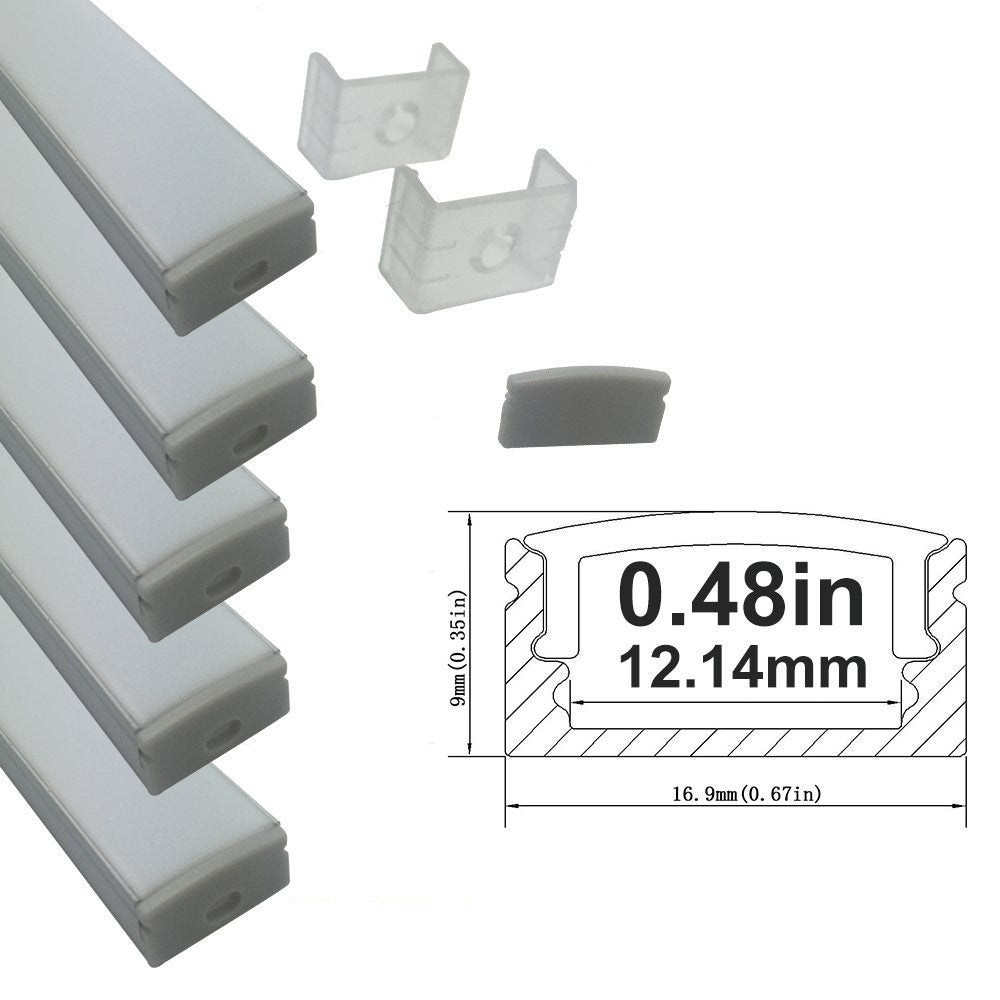
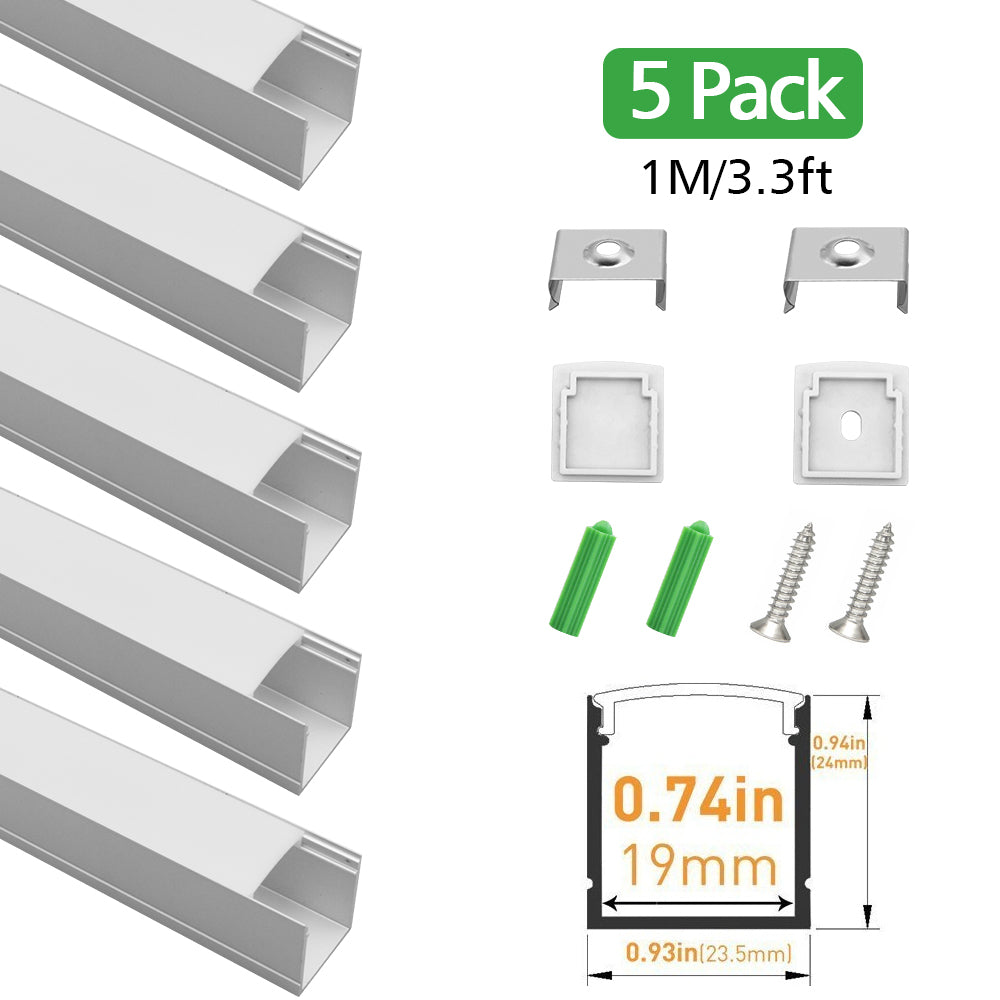
Thanks for sharing the measurements and fitment details.The U02 profile has an internal width of approximately 12.15mm, so checking the actual width of your LED strip before ordering is important.If a strip has an additional silicone or rubber sleeve, that outer layer may increase its overall width significantly. Removing a protective sleeve should only be done if it does not compromise the intended use or protection of the LED strip.
My RGB+CCT strip is too wide for most channels — should I use U03?
I have a fairly wide RGB+CCT strip that won’t fit inside the smaller aluminum channels I already own.The finished strip is around 16mm wide once I include the edges.I’m looking at U03 because it says 20mm internal width. Is there any downside to using the wider channel even though my strip doesn’t take up the full width?
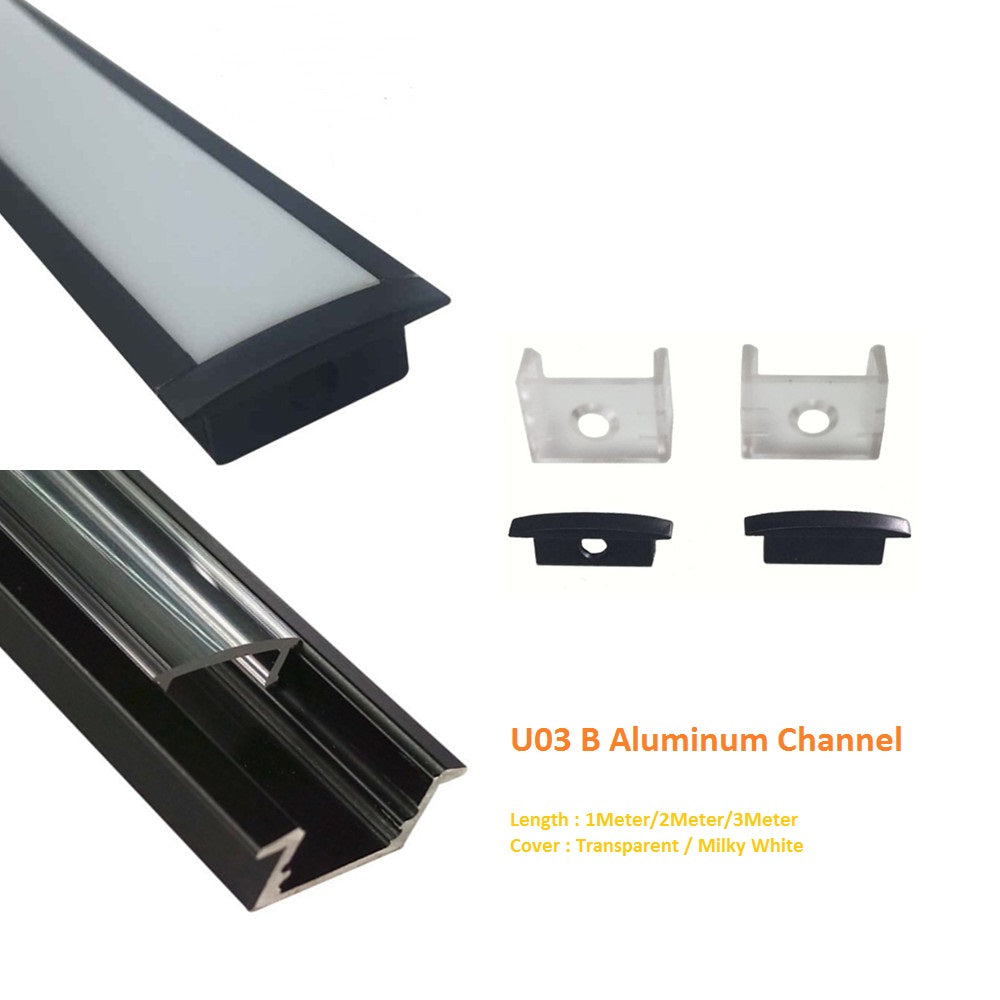
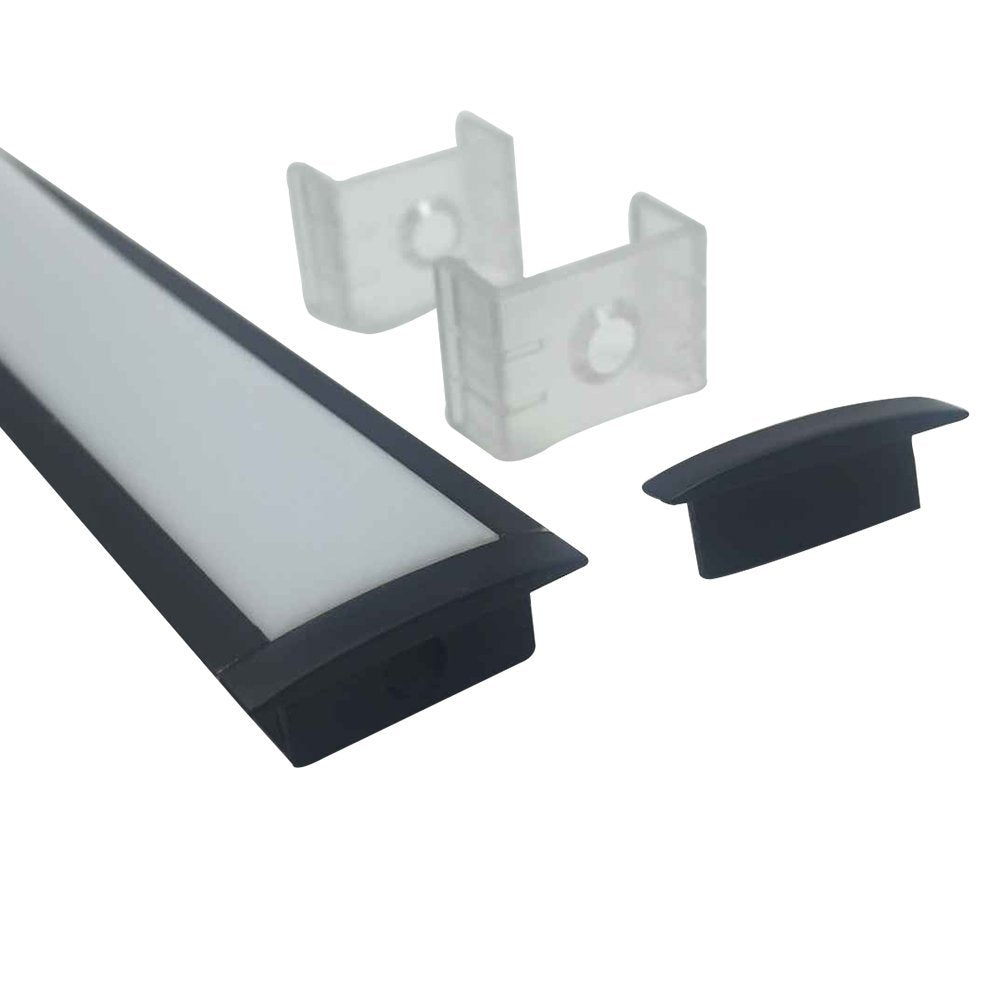
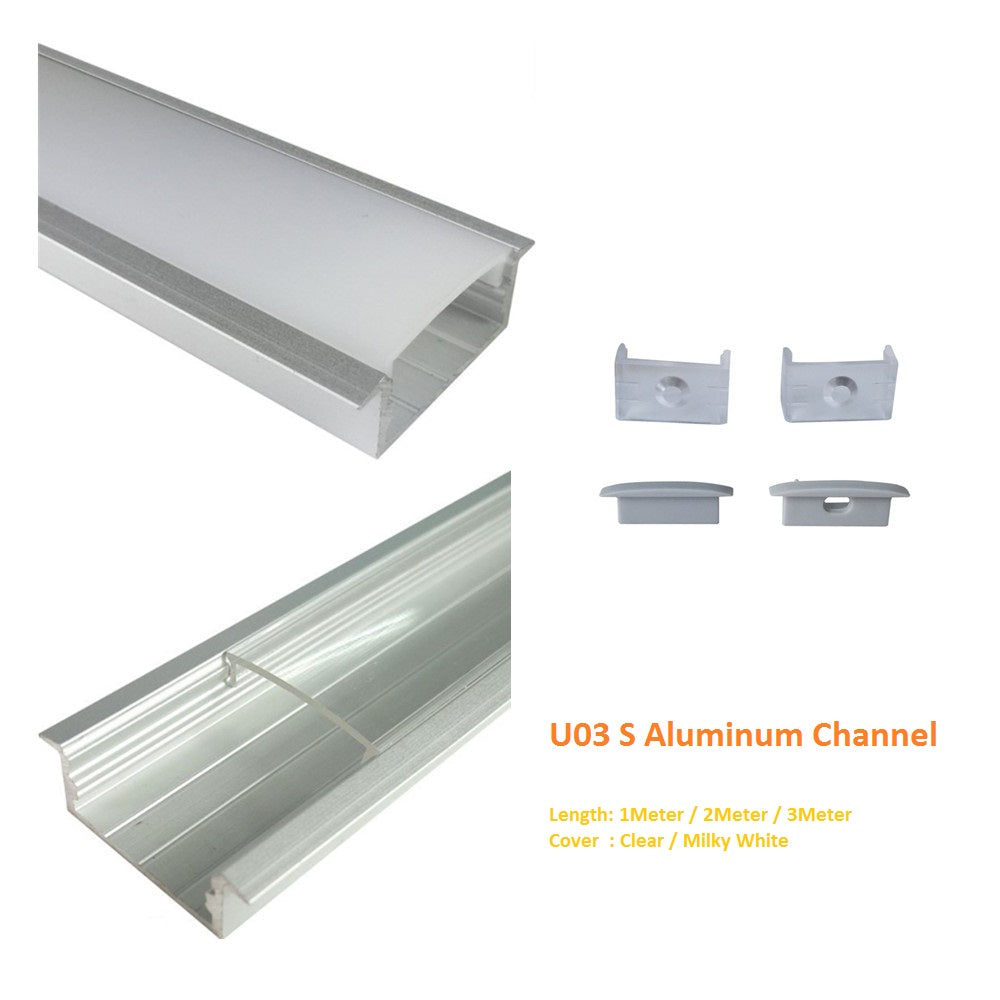
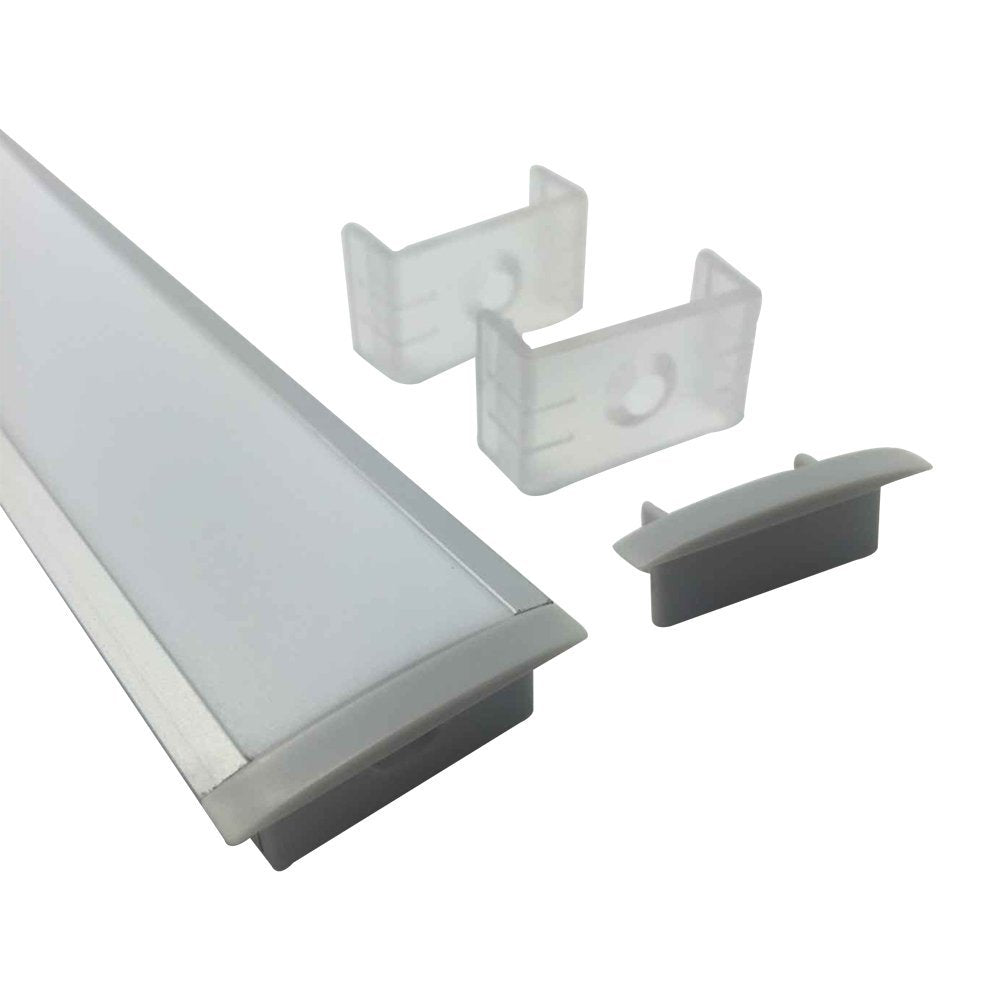
No, the strip does not need to fill the entire channel.The U03 has approximately 20mm internal width, so it’s intended for wider LED strips that won’t fit into the 12mm profiles.As long as the LED strip sits flat and can be secured properly inside the channel, leaving a little extra space on either side is not a problem.
U03 vs U04 for a 20mm LED strip — which profile is less bulky?
I need a channel for a 20mm strip and noticed both U03 and U04 list the same internal width.This is going underneath floating shelves, so I’d rather not use a profile that looks wider than necessary.What’s the practical difference between the two?
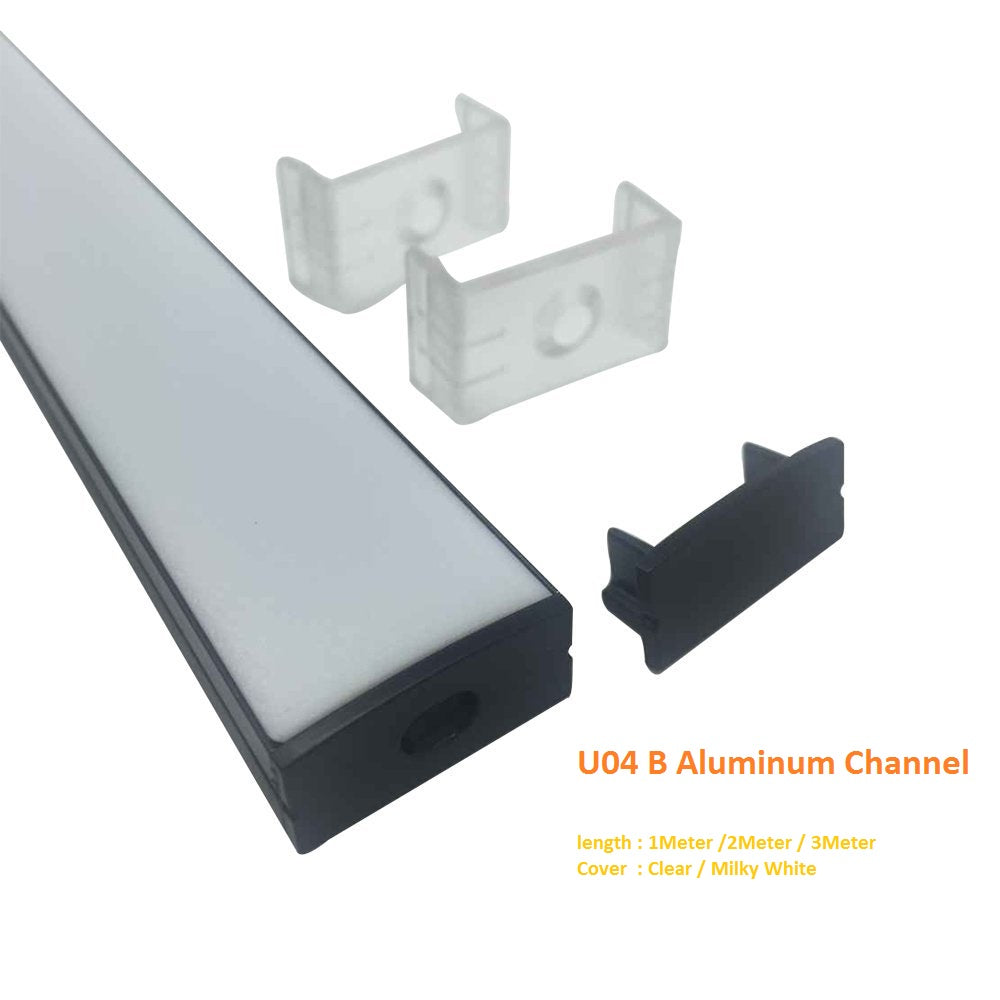
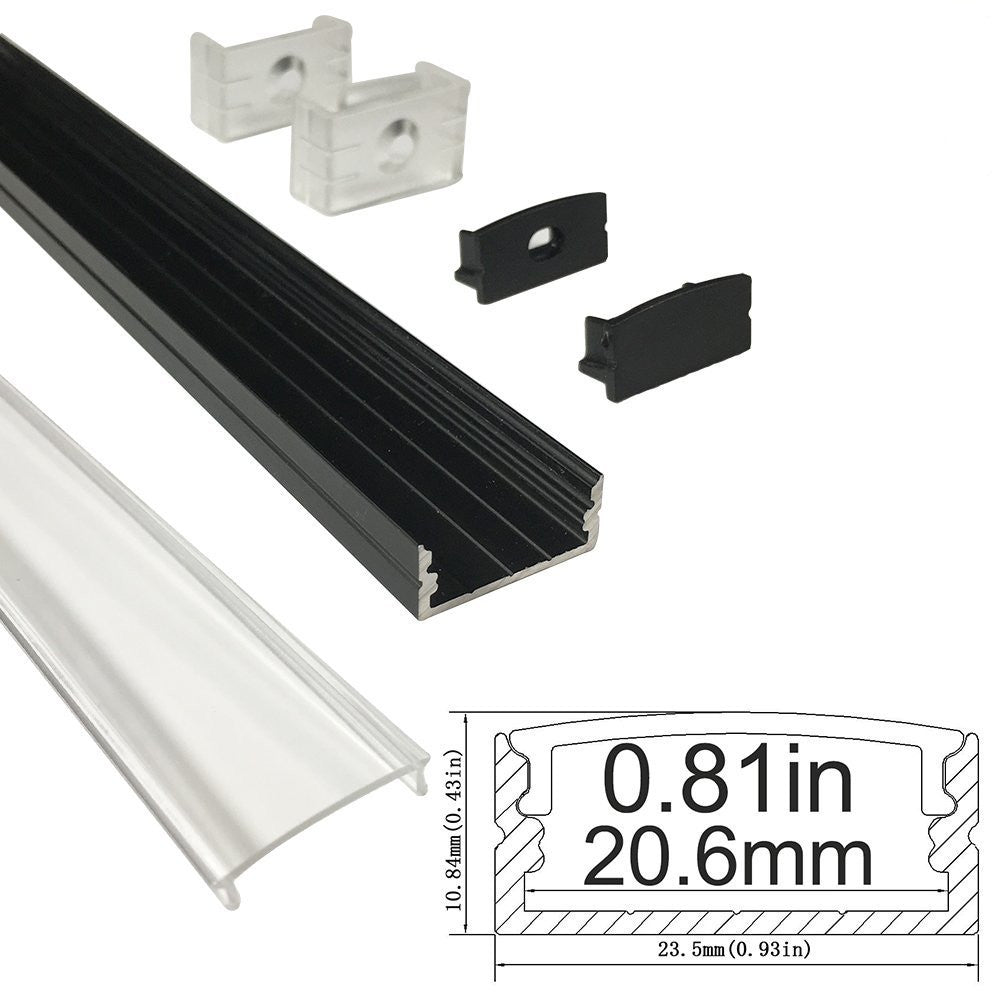
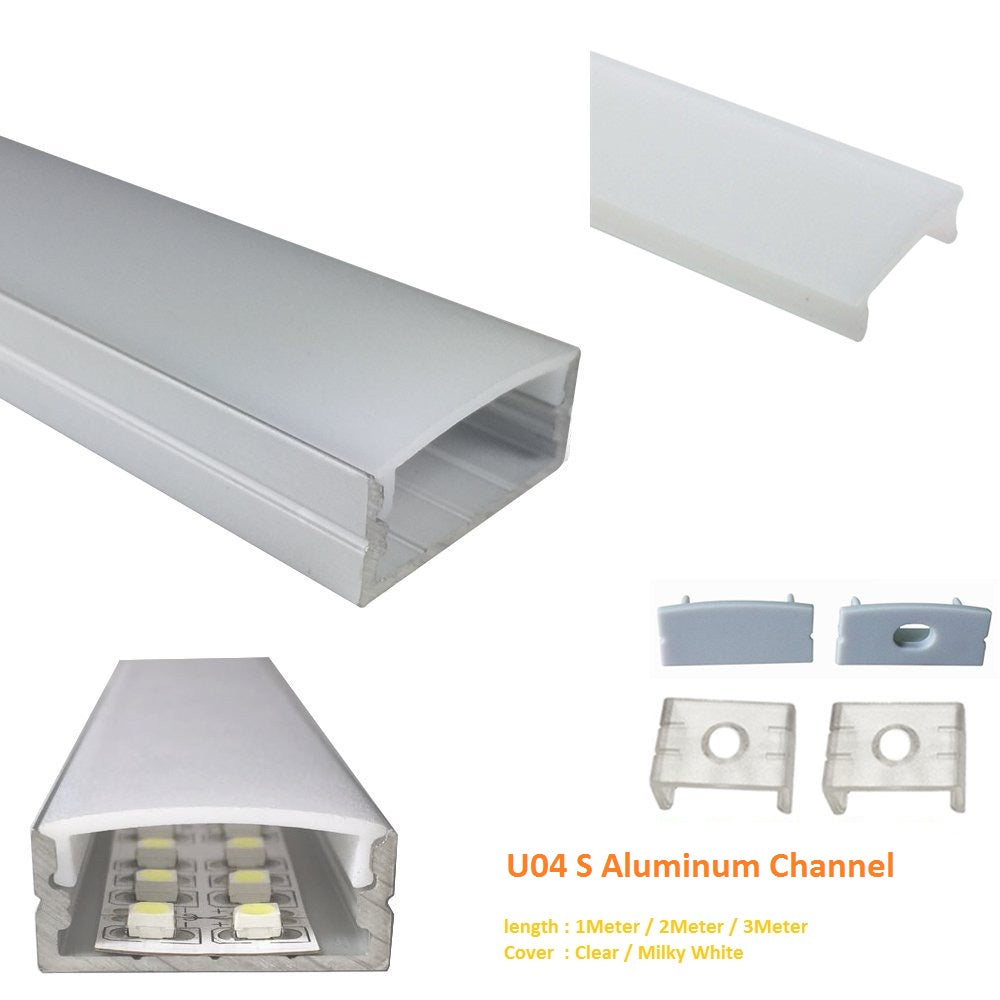
Both are designed around an approximately 20mm internal width, but the outer profile dimensions are different.The U03 is approximately 10×30mm, while the U04 is approximately 10×23mm.If you need the 20mm internal space but want a narrower-looking exterior profile, U04 can be the better fit for that type of installation.